Difference between revisions of "Gin pole welding project"
| Line 54: | Line 54: | ||
Make sure you have enough rope, but that should be obvious. 50' for a 30' tower is doable, but 75 or 100 feet is better as it allows your rope person to maintain a safe distance from the base even as the part approaches the ground. | Make sure you have enough rope, but that should be obvious. 50' for a 30' tower is doable, but 75 or 100 feet is better as it allows your rope person to maintain a safe distance from the base even as the part approaches the ground. | ||
| + | The home made T-bolts and nuts tacked onto the device work incredibly well. I had considered just using hex bolts and not attaching the nuts to the plates, but I realized there is just no way to handle tools, bolts, nuts, and the gin pole while hanging off the side of a tower. Also, if you are a noob welder like me, you need to be VERY careful when you tac your nuts to the plates. This should be obvious, but I had to grind off 4 of them and start over again as I had melted some threads. | ||
[[Category:dosman projects]] | [[Category:dosman projects]] | ||
Revision as of 21:26, 6 December 2012
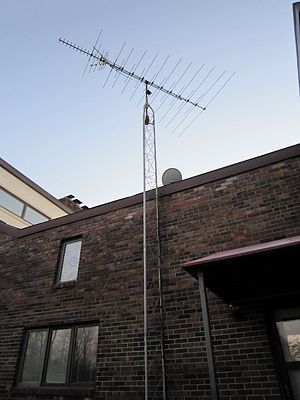
So what is a Gin Pole you may ask? And why would you want to build one? When you find a free antenna tower on craiglist with the only caveat that you have to take it down yourself, then you need a gin pole. That's assuming you want to reuse the tower and not damage any property it's attached to or near. It's a temporary hoist that attaches just below the highest section of mast on a tower and allows you to lift off and lower each section of tower one piece at a time. You use it the in reverse to assemble a tower.
Contents |
Commercial gin pole kits and usage
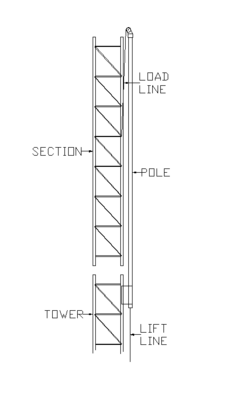
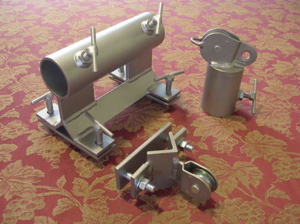
Gin pole kits go from $150 on up (no pole included). I found this gin pole kit on ebay and almost bought it. Then I realized we have everything at Bloominglabs I needed to make my own, so I decided to make one after this design:
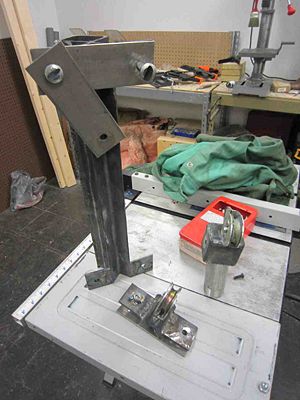
The large piece in the upper left attaches just below the highest section of the tower and a pole (most likely 10 feet long) attaches here. The part in the upper right with the pulley on top sits on top of the pole and this should be near the top of the tower. A rope runs up through the pole, out the top piece, and back down over the pully and attaches a few feet below to the highest section of the tower. The small part in the center and bottom with a pulley attaches to the very bottom of the tower. The rope coming down out of the bottom of the pole runs through this and into the hands of your assistant on the ground. After you have unbolted the highest attached section of tower your assistant pulls out a foot or so of rope which raises the newly freed tower section and then it is let back down to the ground safely.
Construction
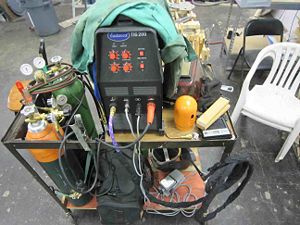
I took a welding class a couple years ago but I spent most of my time then doing MIG. Adam at our space has brought in a nice TIG machine which I need practice on. Adam was kind enough to give me a thorough TIG lesson on a slow Sunday. I was able to knock out 99% of this project in a half day.
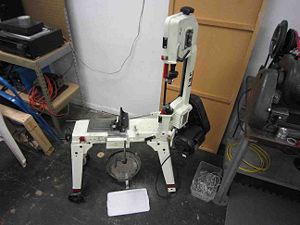
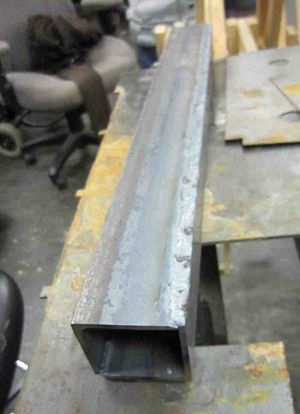
I made extensive use of our horizontal bandsaw to get my raw material sectioned into the right sizes. All of the metal stock I used came from a local mega home store and another hardware store in town. I sized my kit to support a 1.5" rigid conduit pole. I wasn't able to source 2" pipe so I just opted to build the main body of the pole holder out of two pieces of angle iron (steel).
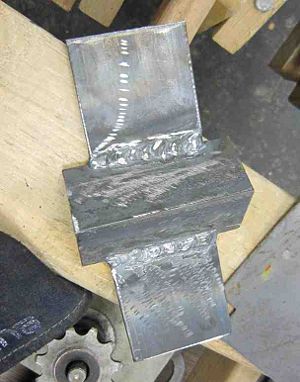
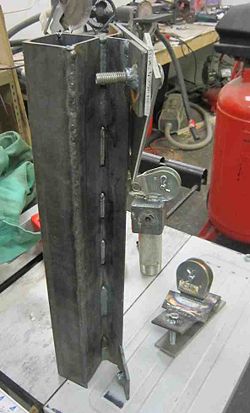
Here are some of my first welds on this project:
You can see nicer welds along the 2nd pic, of course those are Adam's ;-)
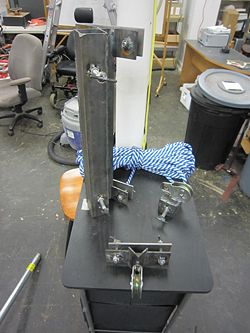
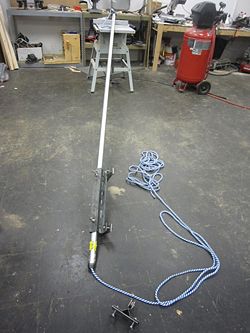
Finished
As you can see, I've over-engineered this device because I really really don't want anything to go wrong when using it. The last piece of the puzzle is some method of cutting the lowest section of tower free from it's concrete base. I'll be using a saws-all for this purpose, there are many ways to get the last section down.
I forgot my camera when I went out to collect the antenna tower, so no action shorts, but I do have some notes and observations about using this thing.
Final thoughts
First, there was one small piece I left out of my setup from the ebay kit I found. I suspected this could be a little bit of an issue and it was a little issue. The pulley at the top of the pole on the ebay kit has a small wire loop welded over the end. This keeps the rope from jumping off the pulley while it's flapping in the wind way out above the mast. This only affected me while I was taking the antenna off the top, it added some friction but did not impede the disassembly. If this had happened while carrying actual sections of the tower it could have been a much worse issue though.
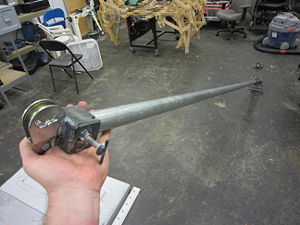
Next, in one of my photos you can see a long bolt sticking out of the top pulley. It is fully tightened and locked on the pole. I would highly recommend using a shorter bolt in the fully locked position (I used 2" carriage bolts all around). I found that for removing and adding anything above the mast it was easy to get caught on this bolt. As I attempted to extend the pole above the existing antenna this was a very annoying problem. Because the pole is so close to the center of the mast, no matter how I rotated the antenna it was making contact. I was able to force it past, but this bolt was awful.
Make sure you have enough rope, but that should be obvious. 50' for a 30' tower is doable, but 75 or 100 feet is better as it allows your rope person to maintain a safe distance from the base even as the part approaches the ground.
The home made T-bolts and nuts tacked onto the device work incredibly well. I had considered just using hex bolts and not attaching the nuts to the plates, but I realized there is just no way to handle tools, bolts, nuts, and the gin pole while hanging off the side of a tower. Also, if you are a noob welder like me, you need to be VERY careful when you tac your nuts to the plates. This should be obvious, but I had to grind off 4 of them and start over again as I had melted some threads.
